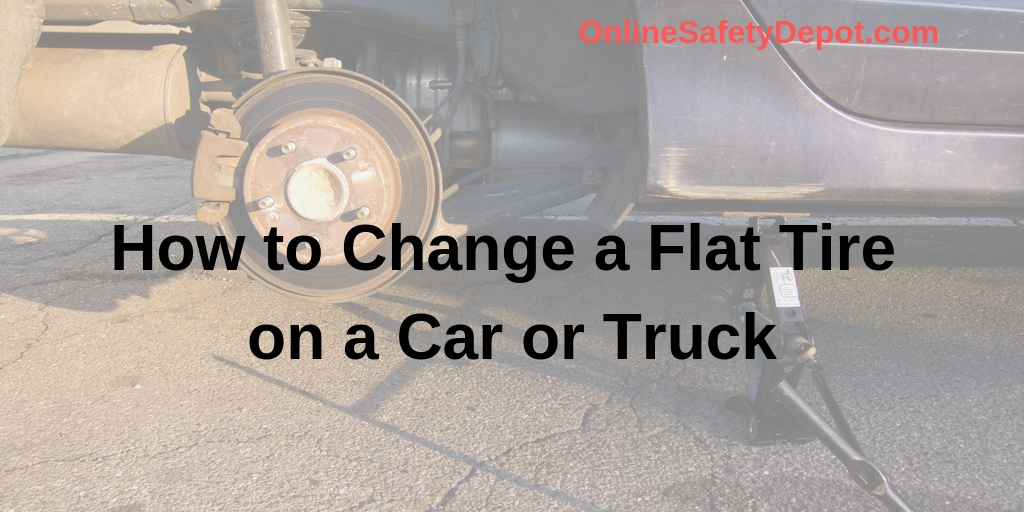
How to Change a Flat Tire on a Car or Truck
A few years ago, while visiting my brother and sister-in-law in Gig Harbor, Washington, we got a flat tire on a major freeway in route. There was little room to pull over on the roadside and even less room for me to change the tire, which was facing out towards traffic. To make matters worse, the best place for me to pull over was right after a bend in the road, which complicated matters as your view is limited as to what traffic is coming, and they were unable to see me until they had come around the curve. I should have put on my hazards lights and slowly drove on the shoulder of the road until I found a safe place to pull over.
Luckily a police officer showed up shortly after I pulled over and directed traffic out of the inner lane so that I could change the tire safely. What if that police officer didn’t show up? With the little room I had to work with, I wouldn’t have dared to change the tire, or would have been at significant risk if I tried to.
I personally would have called either a tow company or the police department for assistance rather than risk my own life. However, had I been properly prepared with the right safety gear, I would have been able to safely change the tire on my own.
I would like to share with you how to properly and safely change a flat tire on a car or truck. Should you ever find yourself in the same situation I was in you’ll be properly prepared in case a police officer doesn’t happen to be driving by.
Items You’ll Need
– Spare Tire
– Jack
– Lug Wrench
– Owner’s Manual
Each if these items should come with the car. Take time to inspect each of these items every 6 months to ensure they are in good working condition, and able to use them when the need arises. If you notice the rubber on the side of the tire cracking or bulging, you should replace it.
NOTE: Most car mechanics will tell you not to drive more than 70-mile on a spare tire and at a speed of 50 mph or less. Spare tires are not made to travel long distances. Because of this, I like to have my spare tire be a full standard size tire, the same as my regular tires on my car. That way I will be able to travel the normal speed and at a much greater distance if I need to. This has proven extremely helpful in the past! However, be sure that the space where the spare tire is stored can hold a standard size tire.
Helpful Safety Items You’ll Need to Buy
Cars are equipped with the basic items to change the tire. However, you will need to carry a few other items in case you ever get a flat tire in a precarious situation like I did in Washington.
- Head Flashlight with Working Batteries
You may need a flashlight to change the tire if it is dark. Additionally, you’ll need your hands free to change the tire and not having to hold the light. Amazon has some great quality head flashlights at an affordable price. Click HERE to check out those prices. - Reflective Vest
Having a reflective vest is extremely important. This is how the other drivers will be able to see you, regardless if it is dark or not. We carry some great reflective vests in our store or you can check on Amazon by clicking HERE. - Gloves
You’ll want to have gloves that protect your hands and fingers and fit well so that you can easily handle the more intricate work of the lug nuts. Bulky gloves can make it nearly impossible to even pick up a lug nut from the ground. Go to your local hardware store and try them on before you buy them. If you know your hand size, then you can get them from Amazon with free shipping. Click HERE to see the prices on Amazon.
- Magnetic Nut Bowl
Having a bowl with a magnetic bottom will help ensure that you don’t lose any lug nuts. I have made a pile of the lug nuts next to the spare tire then as I was moving the tire, I accidentally kicked the pile which sent them rolling in all directions. I recommend getting one of these from Harbor Freights as they are extremely inexpensive, ($5) or you can have one shipped to your door from Amazon. Click HERE to see the prices on amazon.
- Flares/Orange Cones
The cones or flairs alert other drivers that they need to move over to the next lane and away from where you are changing the tire. Flairs offer the advantage of being highly visible both day and night but are not reusable. Cones are reusable, maybe not as highly visible, but you can get the ones that are night reflective. You can get flairs or small traffic cones on Amazon as well. Click HERE to see the prices. - Small Block of Wood
The block of wood is used as a base for the jack to be placed upon. Sometimes the ground will be uneven or soft and unforgiving to the pressure from the jack. The board will help to stabilize the jack and prevent it from slipping or sinking. - Wheel Wedge
The wedge is used as an added security measure to the emergency break. Place the wedge against the opposite tire to the one you are changing. For example, if you are changing the front tire, place the wedge on a back tire. You can Click HERE to see Prices on Amazon.
How to Change Your Car or Truck Tire
1- Find a Safe Location
Once you realize you have a flat tire, look for the best place to pull over. If there is not a safe place to pull over and change the tire, slowly drive down the shoulder of the road with your hazards lights on until you find a safe place to change your tire. However, driving too long on a flat tire can destroy the tire and make it so that you will need to buy a whole new one, rather than just getting the old one fixed.
2- Turn on Your Hazard Lights
If you haven’t done so already, turn on your hazard lights to let others know that you are not moving and for them to move over to the next lane and away from where you will be changing the tire.
3- Apply the Parking Brake
Once you have found a good place to change your tire, put your car in park, and apply the emergency brake. This will help keep the car from rocking back and forth as you loosen the nuts from the tire.
4- Put Cones or Flares on Road
If needed, place flares or cones to direct traffic away from where you are changing the tire. To properly set up the cones for your own safety walk along the road about 30 yards from your car. Place the first cone next to the inner road line, then walk back towards your car placing a cone every 5 yards or so. Slowly move the next cone out towards the middle of the road. This will force the oncoming traffic to move out to the next lane, allowing plenty of room for you to safely change your tire.
5- Remove the Hubcap
In order to have access to the nuts, you’ll need to remove the hubcap. Review your owner’s manual to see if there is a specific process to remove the hubcap from your vehicle. Otherwise, you can remove it with your hands with a little pressure. Pull on the rim of the hubcap, gradually working your way around the edge of the hubcap until it is completely free from the tire. If the hubcap is on tight and unable to remove with your fingers, then use the flat edge of the lug wrench for leverage.
6- Loosen the Nuts
With your lug wrench, loosen each of the nuts around the tire. It is important that you only loosen the nuts and not remove them all together. You want to do this while the tire is still firmly on the ground so that you will have a force-counterforce to help with the nuts that are too tight.
7- Jack up Your Vehicle
Place the jack under the car on the flat block of wood you have placed on the ground. Line the jack support component up with the vehicle solid metal frame that is next to the tire you are changing. Most cars have plastic covering the metal frame with a small area where the metal is exposed specifically designed for the jack.
Slowly raise the vehicle off the ground, ensuring that the jack is stable and upright. If the jack starts to slant or lean, lower the jack, realign again and attempt again. With the jack now straight and stable, raise the tire about six (6) inches off the ground. This will provide enough clearance to put the fully inflated spare tire on.
8- Fully Remove the Nuts
Once the tire has been raised off the ground, remove all the nuts from the tire.
9- Remove the Flat Tire
With your hands firmly on the tire, remove the tire without scraping the bolts thread. Place the flat tire away from where you are working.
10- Mount New Spare Tire
Again, ensuring that you don’t scrap the thread of the lug bolts, mount the new tire. Push the tire all the way back until it is firmly against the back.
11- Tighten the Lug Nuts
Individually tighten each of the nuts as tight as possible onto the tire using only your hands. This will prevent you from stripping and destroying the thread if the nuts are not properly aligned. It is recommended to sequentially place the nuts opposite each other for a more uniform fit.
12- Lower Vehicle and Tighten Lug Nuts
Lower the vehicle using the jack until it is lightly touching the ground. This will allow you to have a counter force so that you can fully tighten the lug nuts using the wrench.
13- Fully Lower the Vehicle
Using the jack again, fully lower the vehicle to the ground. Using the wrench again, ensure that each nut is on tight.
14- Check Pressure in Spare Tire
Ensure that the new spare tire has the correct pressure according to the owner’s manual.
15- Put Away Equipment
Once the new tire has been mounted onto the car, gather up all your tools, equipment and flat tire and place into the car.
Changing a flat tire is a skill every driver should have. Hopefully you are never in a situation where you must change your tire on a busy road like I did. If you are, follow these simple steps to ensure your safety as well as the safety of the other drivers on the road.